
Posts Tagged ‘BBW Bad-Assery Module 5 Lessons’
Module 5: Lesson 15 – Joe’s ‘End of Module 5’ Big Boogie Woogie
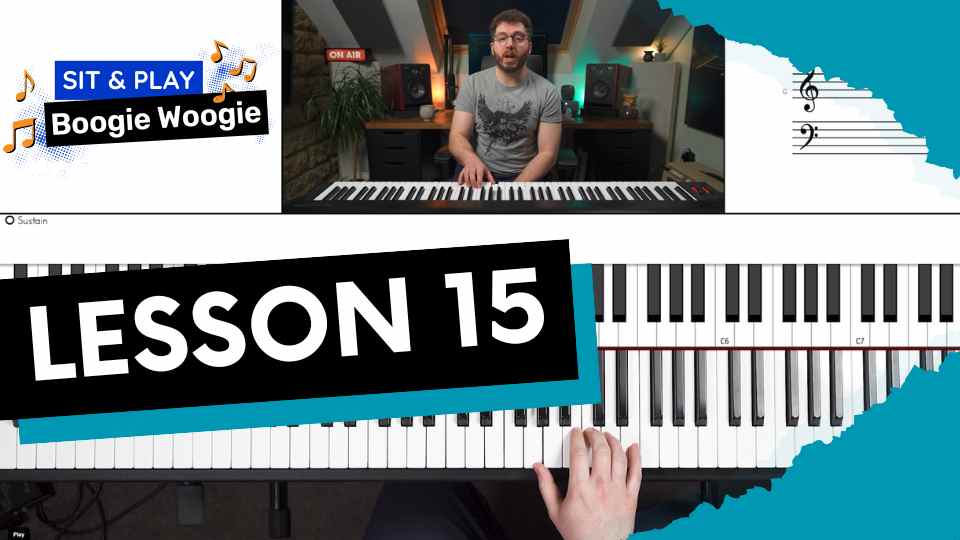
Row Ripped Paper 2 Shape Decorative svg added to bottom Module 5 Lesson 15 Joe’s ‘End of Module 5’ Big Boogie Woogie Let’s pull our new skills together that we’ve covered in module 5 into a full boogie woogie that sounds great and demonstrates the new skills in action. Home » Sit & Play Boogie…
Read MoreModule 5: Lesson 14 – The Boogie Woogie Bad-Assery Position Game – Part 3
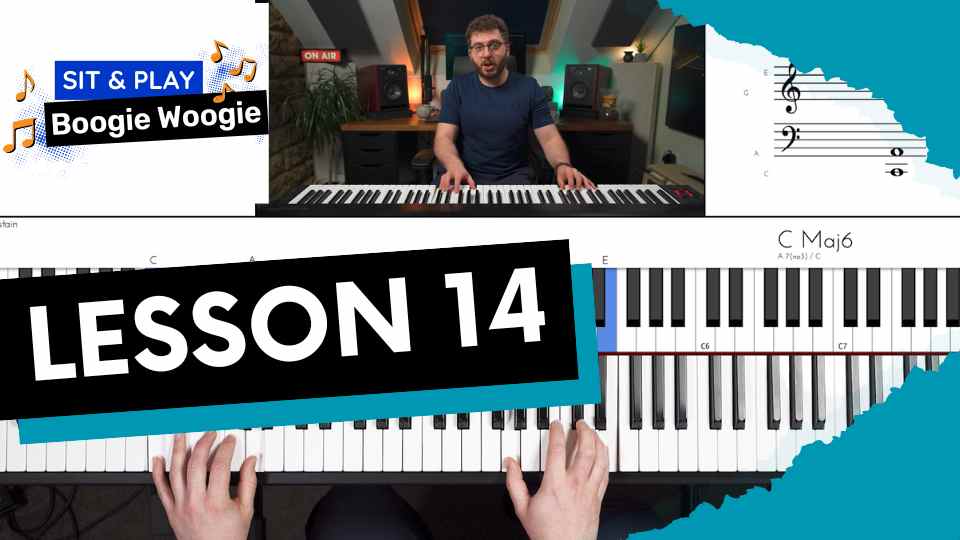
Row Ripped Paper 2 Shape Decorative svg added to bottom Module 5 Lesson 14 The Boogie Woogie Bad-Assery Position Game – Part 3 Continuing where we left off, now its time to play the position game starting from position 3. Home » Sit & Play Boogie Woogie » Module 5 » Lesson 14 Print Notation…
Read MoreModule 5: Lesson 13 – The Boogie Woogie Bad-Assery Position Game – Part 2
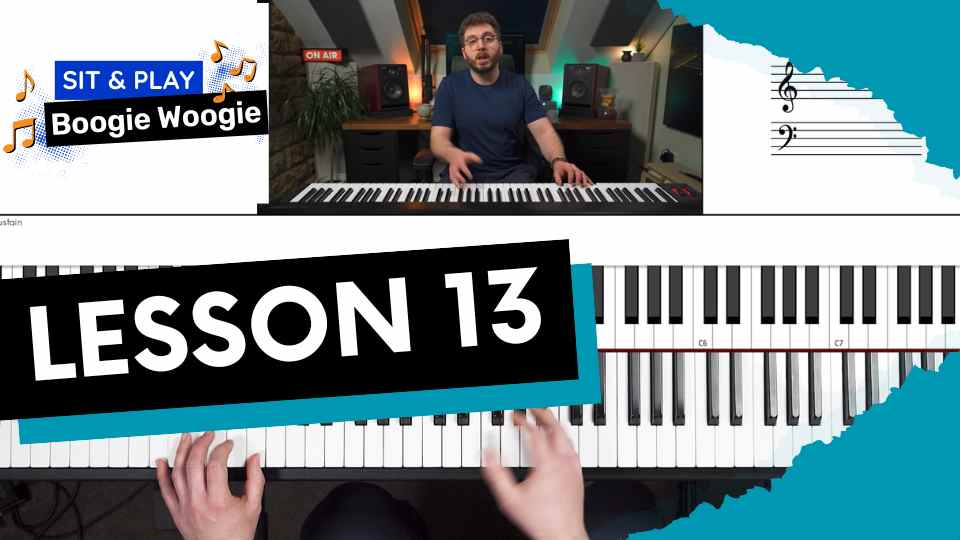
Row Ripped Paper 2 Shape Decorative svg added to bottom Module 5 Lesson 13 The Boogie Woogie Bad-Assery Position Game – Part 2 Continuing where we left off, now its time to play the position game starting from position 2. Home » Sit & Play Boogie Woogie » Module 5 » Lesson 13 Print Notation…
Read MoreModule 5: Lesson 12 – The Boogie Woogie Bad-Assery Position Game – Part 1
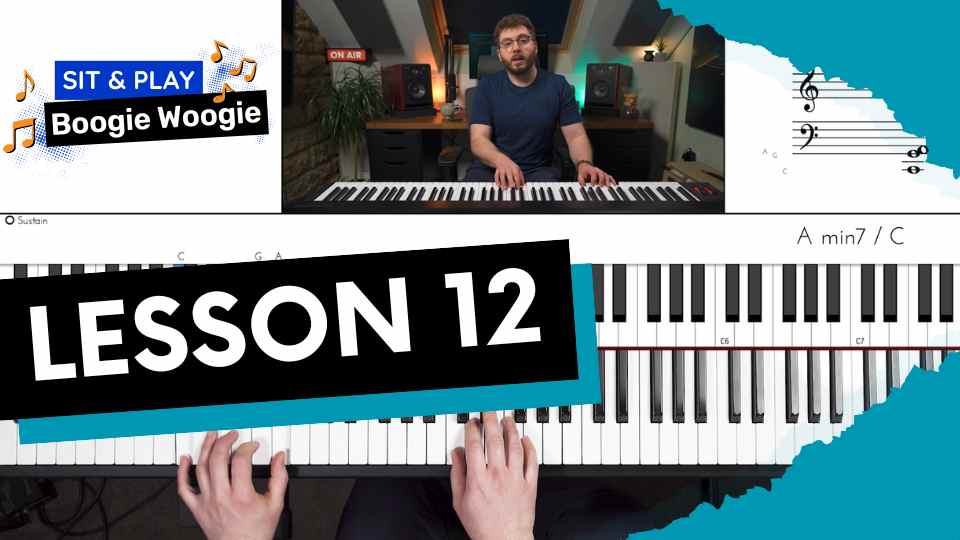
Row Ripped Paper 2 Shape Decorative svg added to bottom Module 5 Lesson 12 The Boogie Woogie Bad-Assery Position Game – Part 1 Play this position game to gain a deeper understanding of how the positions can connect together specifically whilst moving through the 3 boogie woogie scales. Home » Sit & Play Boogie Woogie…
Read MoreModule 5: Lesson 11 – Connecting The Brain To The Positions Through Controlled Improvisation
Row Ripped Paper 2 Shape Decorative svg added to bottom Module 5 Lesson 11 Connecting The Brain To The Positions Through Controlled Improvisation Now it’s time to deepen our familiarity and confidence with the right hand positions so they become more natural. Riffs and examples included. Home » Sit & Play Boogie Woogie » Module…
Read MoreModule 5: Lesson 10 – Knitting our 3 Right Hand Positions Together
Row Ripped Paper 2 Shape Decorative svg added to bottom Module 5 Lesson 10 Knitting our 3 Right Hand Positions Together Our mission in this lesson is to get that right hand used to moving comfortably between the 3 positions in each of our 3 boogie woogie scales. Home » Sit & Play Boogie Woogie…
Read MoreModule 5: Lesson 9 – Unlocking Position 2 – Riffs and Examples
Row Ripped Paper 2 Shape Decorative svg added to bottom Module 5 Lesson 9 Unlocking Position 2 – Riffs and Examples Now lets build up some more familiarity inside our position 2 so our fingers know what to play and how to use the position to generate some boogie woogie. Home » Sit & Play…
Read MoreModule 5: Lesson 2 – Unlocking Position 3 – Part 1
Row Ripped Paper 2 Shape Decorative svg added to bottom Module 5 Lesson 2 Unlocking Position 3 – Part 1 Here’s 2 solid riffs to get us started feeling around inside position 3 and build that connection between the brain and the hand. Home » Sit & Play Boogie Woogie » Module 5 » Lesson…
Read MoreModule 5: Lesson 8 – Unlocking Position 2
Row Ripped Paper 2 Shape Decorative svg added to bottom Module 5 Lesson 8 Unlocking Position 2 Now it’s time to add our final position into the mix. Lets familiarise ourselves with position 2 through controlled improvisation as well as a solid exercise to learn. Home » Sit & Play Boogie Woogie » Module 5…
Read MoreModule 5: Lesson 7 – Josef’s Big Bad-Ass Boogie Project (Connecting Positions 1 and 3)
Row Ripped Paper 2 Shape Decorative svg added to bottom Module 5 Lesson 7 Josef’s Big Bad-Ass Boogie Project (Connecting Positions 1 and 3) Let’s shift the needle from ‘exercises’ to proper, fun boogie woogie. Learn this big boogie project as a piece to simply play and sound great, but also build skill. Home »…
Read More